You've probably read our article about images and now you maybe know a lot about the Wiki syntax and how to place an image inside an article. Possibly, you already know how to use an image manipulation program – then you can stop reading here and maybe you'll like to have a look at our other help pages:
Getting started • Editing pages • Links
Skin customization • Editable tooltips • Dealing with trolls and vandals
About Irfan View[]
Irfan View is an image viewer that supports a large number of image formats. It can also convert images, optimize, scan, print, create slideshows, etc. Get Irfan View here!
Cropping an image[]
Just press the left mouse button and drag a field with the cursor over the image part you want to crop, then CTRL+Y.
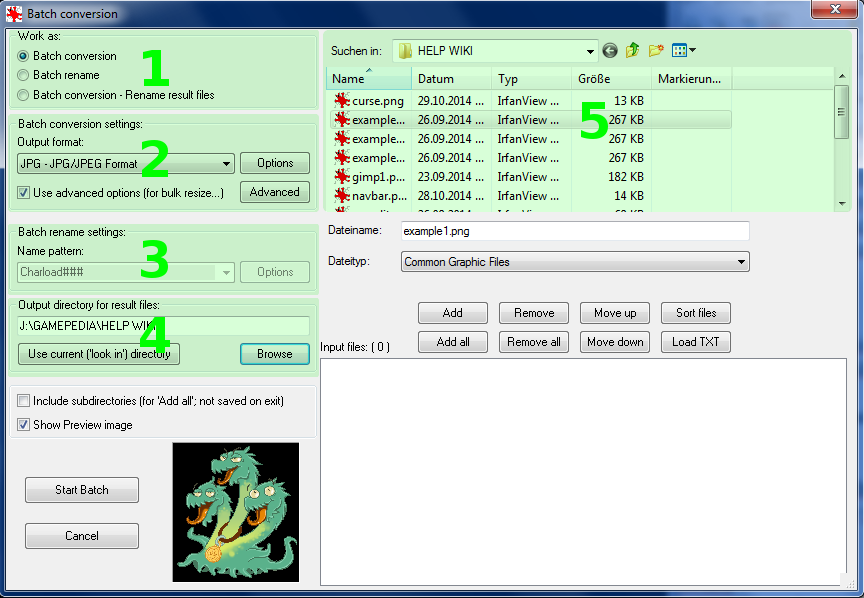
Batch conversion[]
1. Is about what you want to do with your files
2. The new format you want.
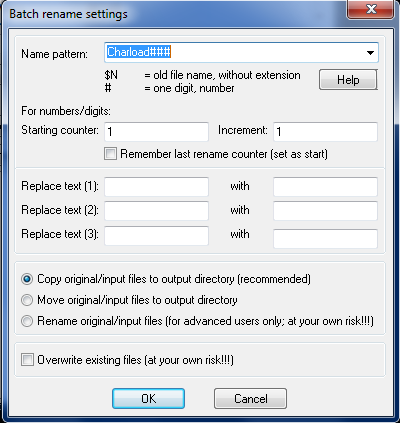
3. The renaming convention—if chosen in 1.
4. Your folder, where your files are going to.
5.) Your source folder.
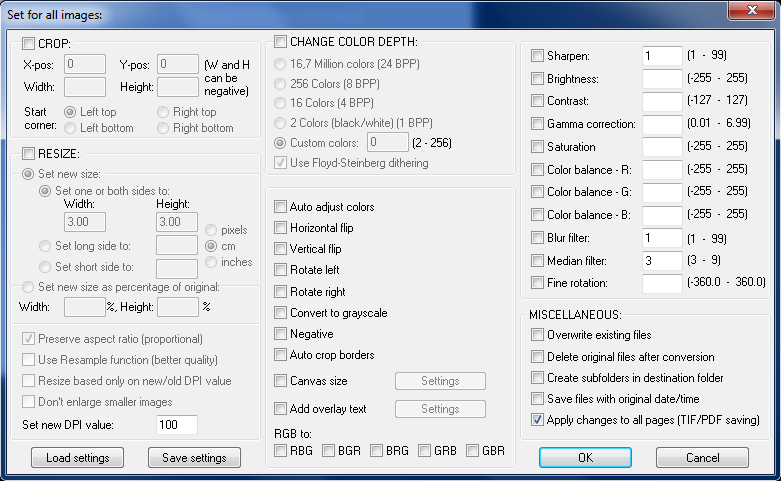
The advanced option, to do certain additional adjustments.
Use Irfan's batch conversion. Go to the menu, press file and choose Batch Conversion/Rename or simply press B to open the window. You should make sure not to overwrite your existing source folder somehow, so it is a good idea to create a new folder for your processed images. This folder can be in the source folder or in any other location of your choice.
- Gives you the choice of Batch Conversion - images will undergo the transformation, which you've set in your options or under advanced, Batch rename—if chosen, you can set a name pattern under point 3 and Batch Conversion - rename result files, which does both of the other two options.
- The output file format. Tick the box, if you want to use the advanced options. If you do so—click on "Advanced" and have a look at "Miscellaneous" and untick unwanted options. Make your other wanted selections and click "OK" when you are sure.
- If you have chosen Batch rename or Batch Conversion - rename result files - you should have a look at the options there and add your settings.
- Your output directory. Either choose the current folder or browse for another. It is advised, to create a new folder. Below: include subdirectories and the preview, the button to start the batch and the button to cancel the whole process.
- The image source folder. Below you can see what name the file has and what kind of file it is. You can either add single files or the whole folder, as you can remove single files or the whole folder.
Other batch conversion tools include SageThumbs and XnConvert.
When you have a lot of images, which you want to have converted into another format, this process of course can take a while.
About Gimp[]
You may arrange the objects/windows as you please and how you think they are useful.
If you intend to have a special use for your screenshots, like focusing on just one character, item or object for your wiki article, then you probably might find an image manipulation program quite handy. In this case, you maybe will require a special Infobox template for your wiki page, but let's focus on the possibly best image manipulation program with a good value first. Get Gimp here!
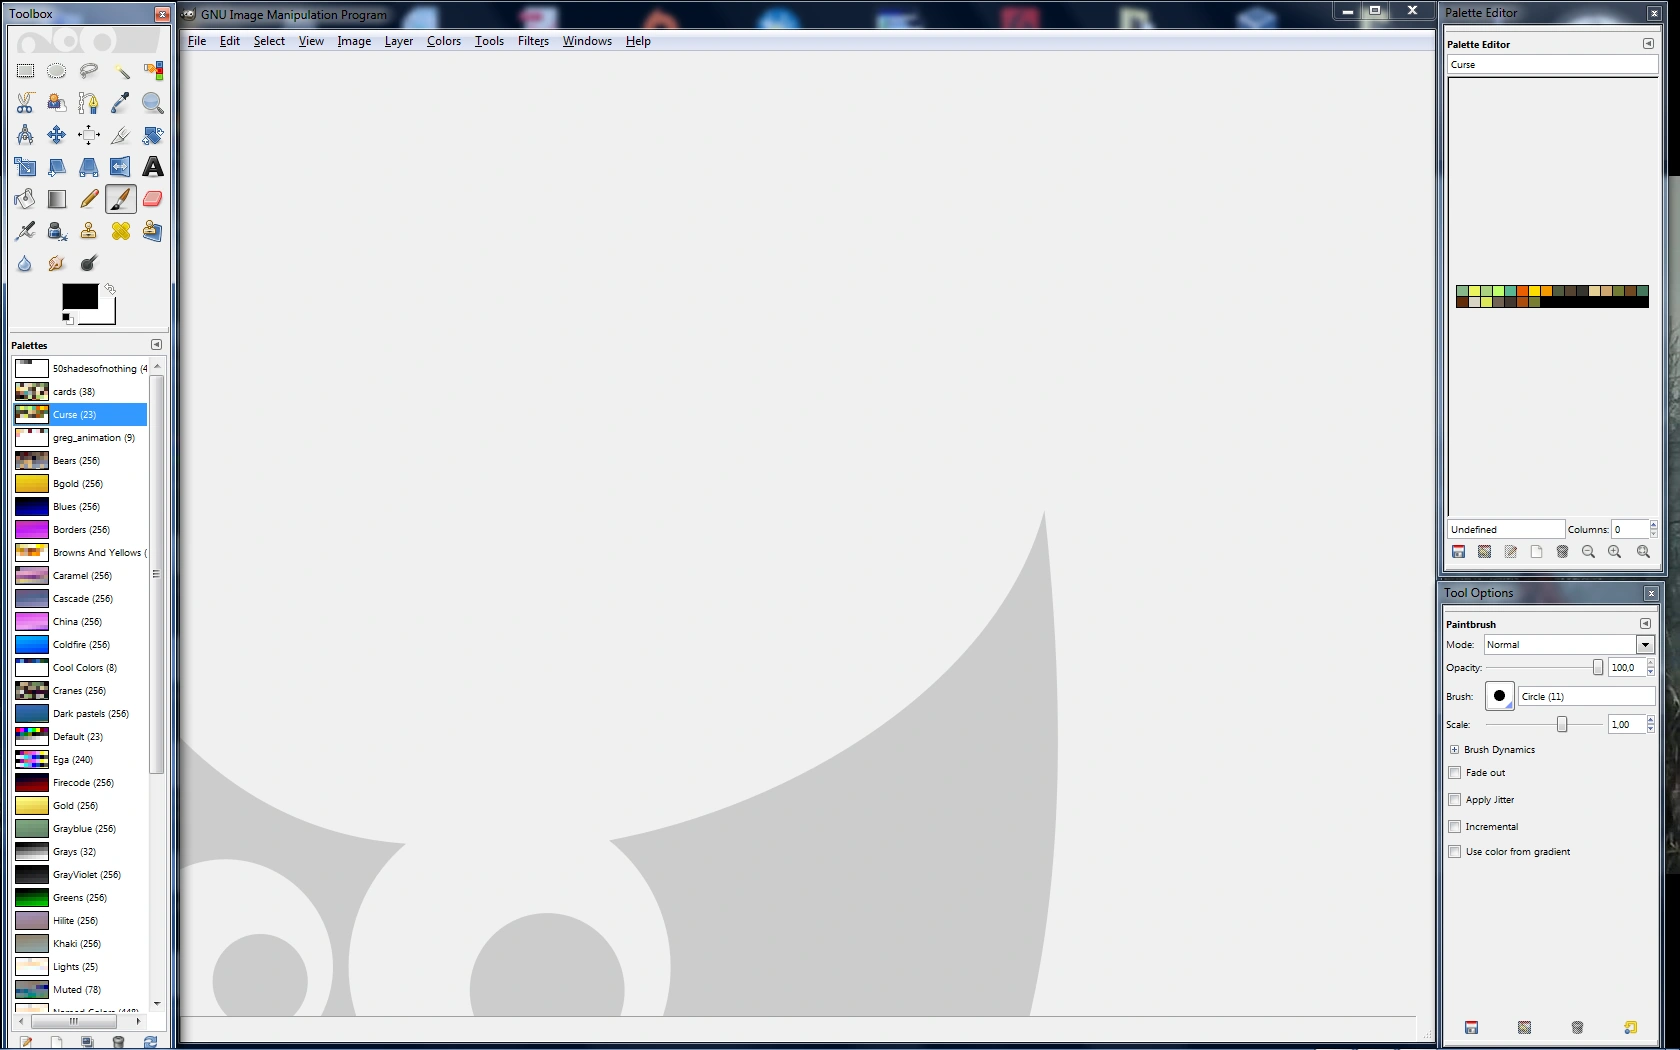
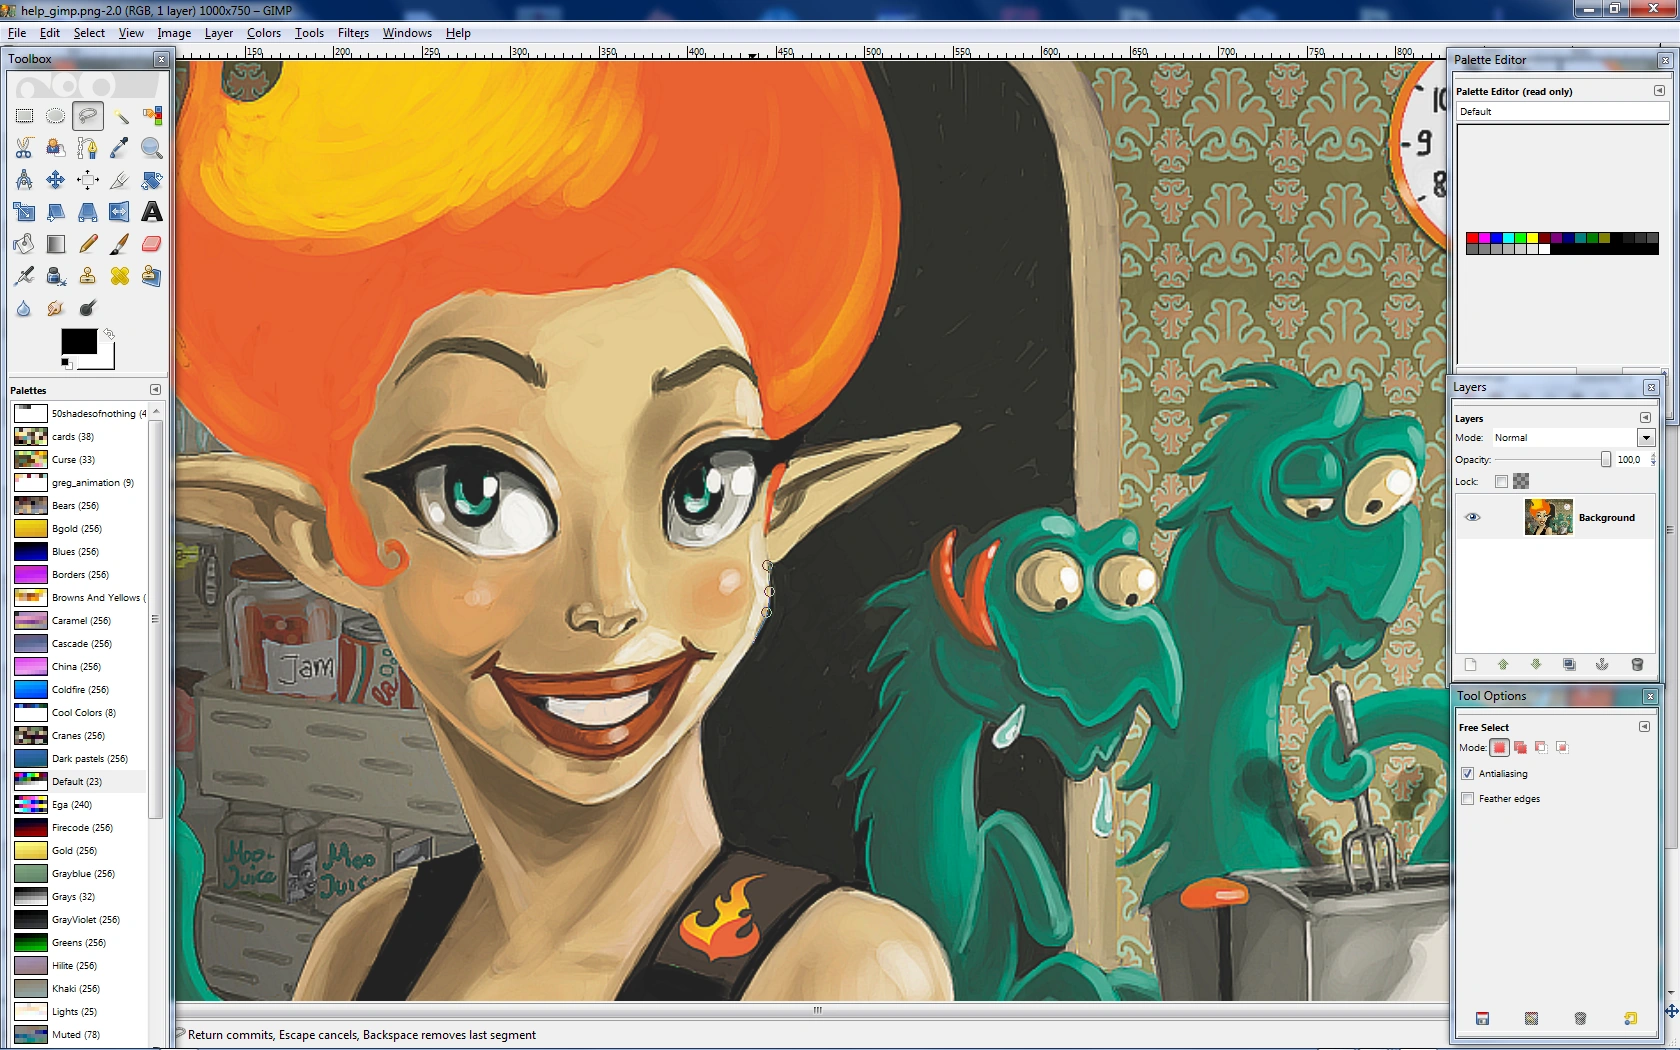
Some really like the Gimp, some don't, but once the general, a little bit weird look with all of its windows is overcome, the user should have something looking like this after starting the program (in this case version 2.6, current newest and stable version is 2.8):
 |
You can download the full documentation for Gimp from the official website, or just click on "HELP" inside the Gimp menu and get redirected to it from there. |
How to[]
Separate a character from the background[]
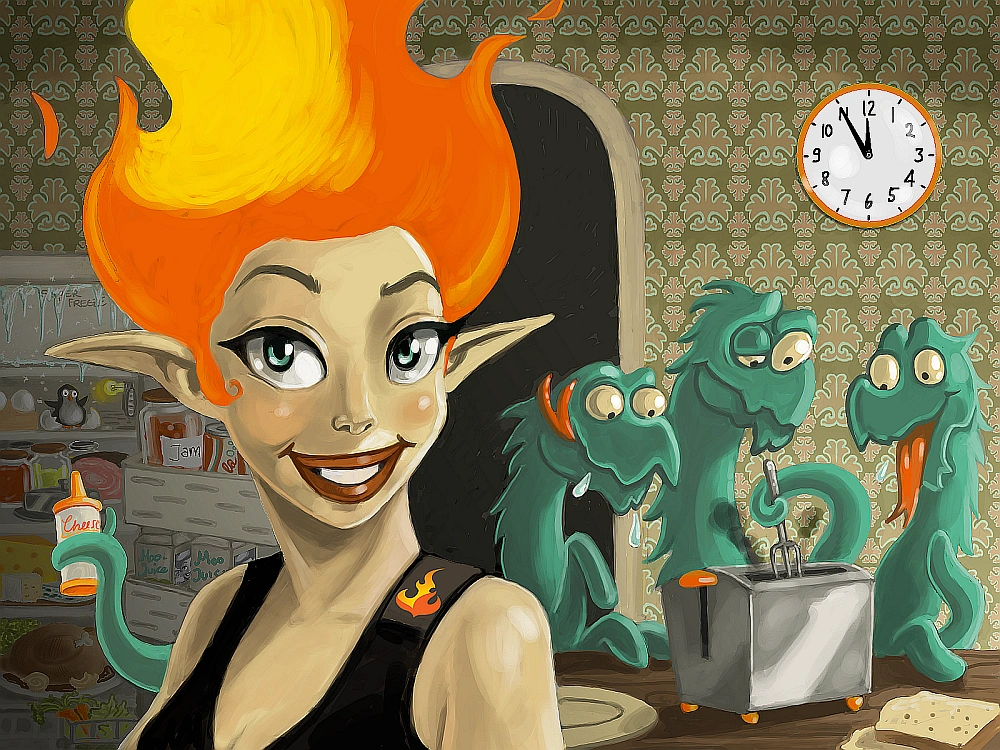
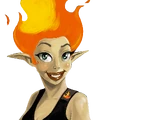
Example image.
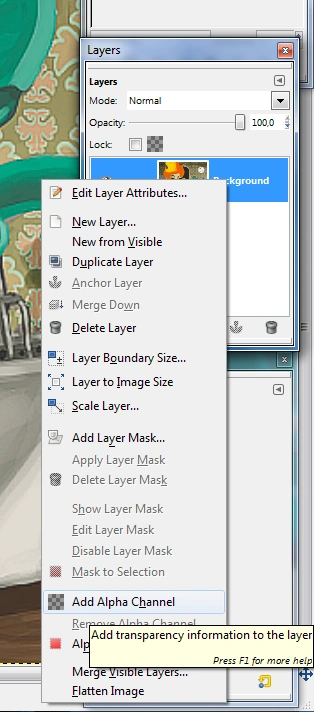
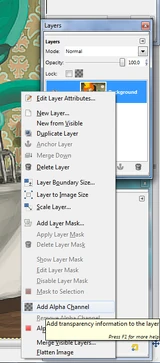
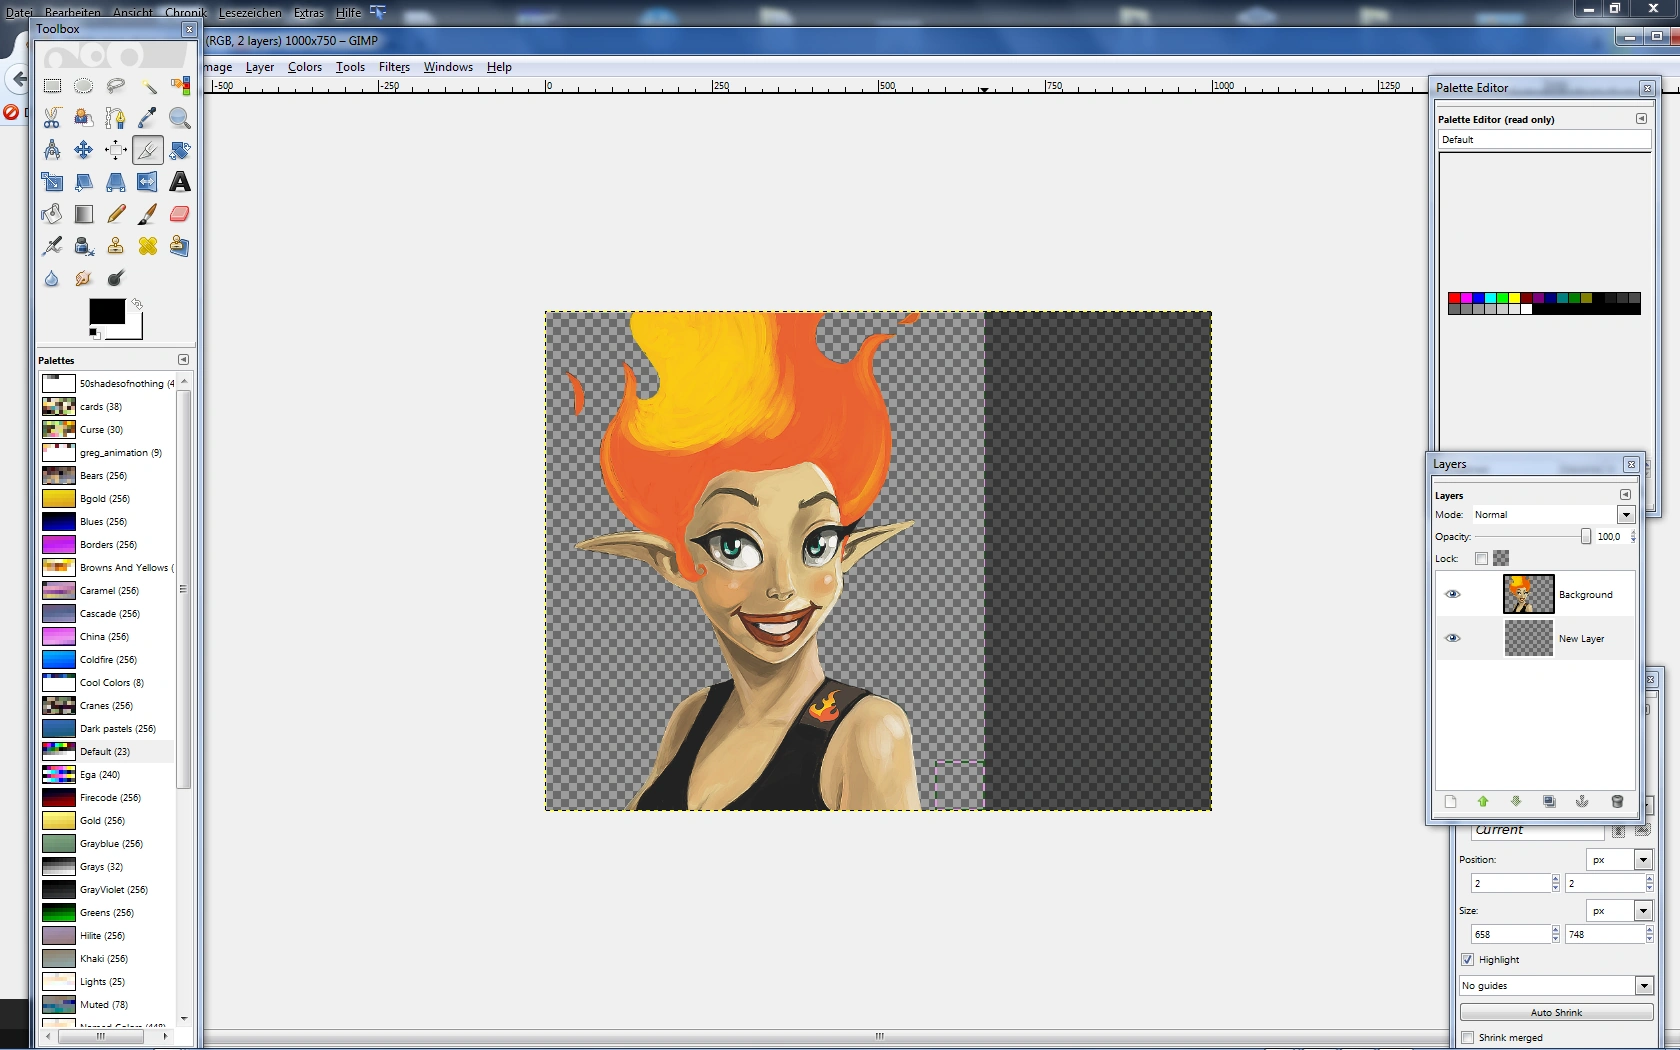
Add an alpha channel to your image
If you are very lucky, you just can use the color selection tool or the magic wand and remove the background with one click. If not, the process will be a bit more tedious with the lasso tool or the eraser. Please also note, to get a transparent background, you must have applied an alpha channel in layers (use the right mouse button and click on the wanted layer, a window will open - choose "Add Alpha Channel"). You can also try to use Colors > Color to Alpha. This works great, with rather monotone backgrounds, although, if you have the same color of the background in other elements of the picture, this can turn out rather weird, so you might like to make use of masks and protect those parts of the image.
This process probably isn't something you want to do for all characters of a game, but it can be useful when an image has a busy background or or you want to have a character stand out. You also can create a new background: Create a new background.
Choose the "lasso" tool (the free select tool), click the left mouse button and you will see the "path" the selection takes. Use LMB and click into the starting loop of your selection, then you should see the selection closed. You also can double click to close the selection.
You also can "draw" freehand and make your selection and stop in-between to make a more exact selection. Hold the Alt button to move the selection around, if needed. If somewhere the selection went a bit awry, correct it either by pressing shift to add something to the selection or press control to remove something from the selection.
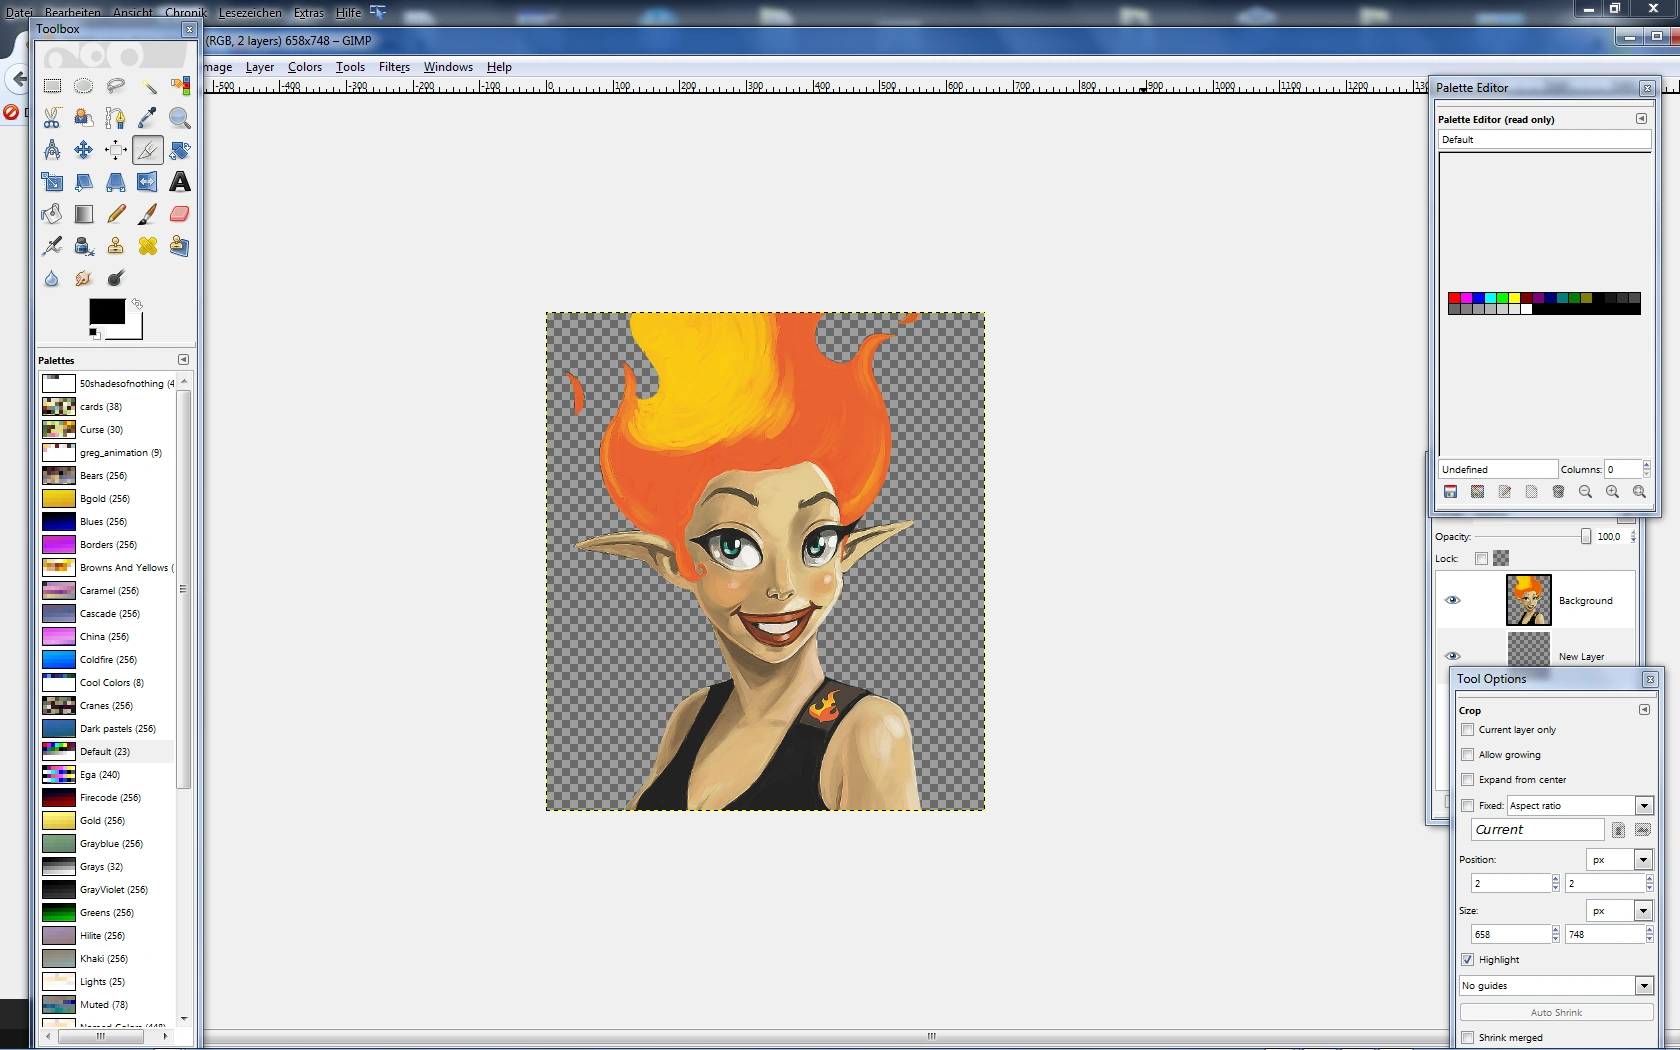
When you are happy with the resulting selection and your character is outlined adequately, press "delete" and your character will be gone. Ctrl+Z (undo) should get it back with the selection (which can be saved, too, by the way). Click on "Select" in the menu and choose invert or use the shortcut Ctrl+I, then delete again. Now you'll have here a lot of empty space to the right, which not really isn't necessary to keep. Use Shift + C or click on the crop tool in the toolbox and press the left mouse button and drag open a field (you can still adjust it later) in a size you want your character positioned. The parts, which get cut off, will show up darker than the final cropped part. LMB to and close or open that field as you wish and double click, when you are fine with the result.
Because the image is rather wide now and nothing is on the right side - let's simply crop it. Look into the toolbox and choose the crop (or knife) tool. LMB and draw a box around the part you want to keep and LMB-click into one of the corners, when the selection is satisfying you. Just save it when you are done.
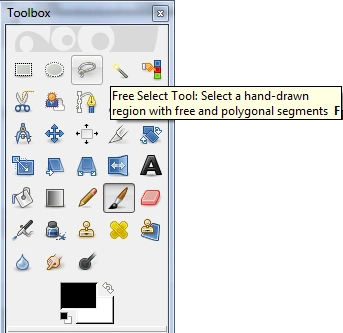 The free select tool |
 Our Image with the selection applied. |
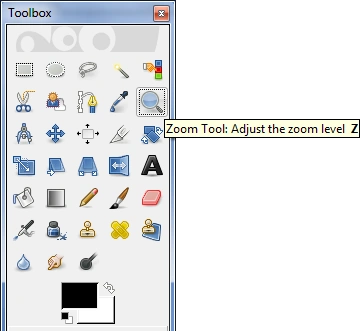 Very useful: The zoom tool! |
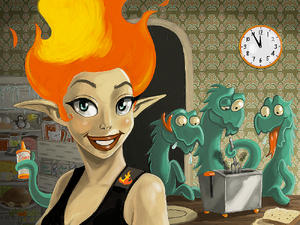
  Our separated character! |
  Ready to crop |
  And done! |
Create a gradient[]
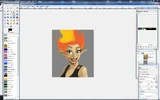
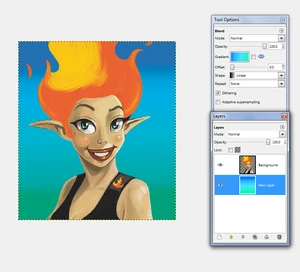
Creating a gradient is also super easy - let's just take our prepared image and choose the blend tool. The program offers several pre-configured gradients and you also can create your own. I simply took one from the list.
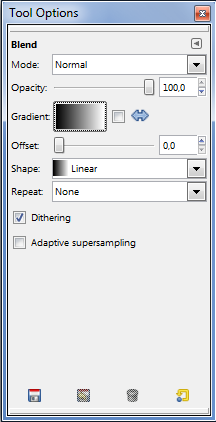  Blend tool options |
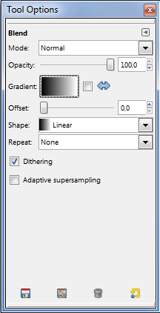
  Your gradient list - have fun! |
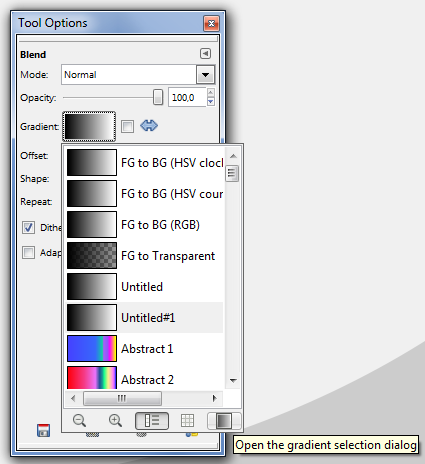 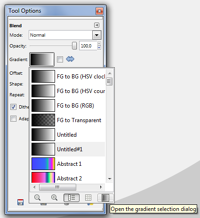 Tool options of the blend tool |
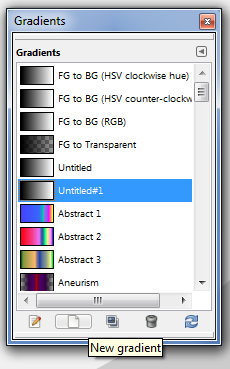 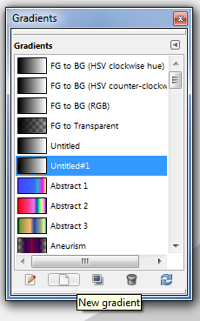 Choose "new gradient"! |
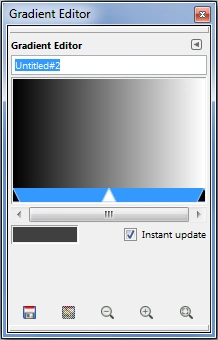 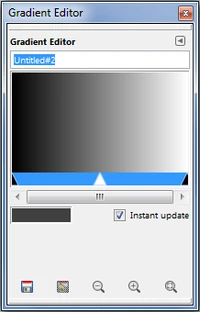 Just drag and drop your colors! |

A new background!
There is also a more complex way to create a gradient. Go to the tool options, click on the box, which lets you choose a gradient and click on the gradient icon in the right corner. This opens another box: Choose the second icon there, which says "new gradient". A new window will open with a large black and white gradient and "levers" below of it. Now choose from your palettes or from the back- and foreground colors and drag the colors into the levers/arrows and move them around to adjust the colors a little more. Don't forget to name and save the new gradient!
If you haven't done it already, prepare a new layer: Go to the menu -> windows -> dockable dialogs or use CTRL+L, in case you not already have layers open. Click on the paper icon on the left in that window. Another window will open, choose "transparency" as layer fill type. Click OK and the new layer should appear over your previous layer. Just move it down with the arrows or LMB. Then use the blend tool inside this layer and drag it from the top down. Your result should be looking like the image to the right.
Resize an image[]
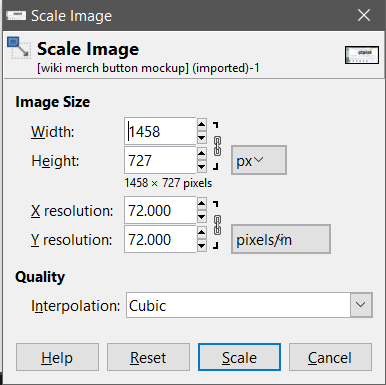
- Open the Image menu and choose "Scale Image..."
- Once the Scale Image toolbox opens, simply select either the height or width and change it to the value you desire. By default, the two values are linked and the second will auto-adjust to match your chosen dimension.
- The other options are optional.
- Once the image is resized, just choose File / Export As... and choose the format which works best. If the image has no transparent areas, *.jpg is a more space efficient format. If the image does have transparent sections, then choose *.png
Fade part of an image to transparent[]
The following tips are based on using GIMP.
Sometimes an image needs to blend seamlessly into the background around it. The easiest way to do this is the have the edges of the image fade to transparent. To do this (in GIMP!) follow these steps:
- Load the image in question
- Press Ctrl-L (or otherwise bring up the layers toolbox)
- Right click on the active layer (your current image) and choose Add Layer Mask...
- Choose the "Blend tool" from your toolbox (usually immediately right of the "Bucket fill" tool)
- Set the foreground color to black (#000000 or rgba(0, 0, 0, 1)) and the background color to white ((#ffffff or rgba(255, 255, 255, 1))
- Starting from the edge which should be transparent, drag your cursor towards the part of the image that should be visible (from the outer edge, inwards)
- Right click on the active layer again and choose Apply Layer Mask
- Merge visible layers (under the Image menu)
- Repeat the last 2 steps (if necessary) for the other edges
- Export your image to the desired filename using a format that preserves transparency (like *.png)
For wiki background images, it is generally advisable to fade the right, left and bottom edges to transparency (though fading the top as well is fine, if desired or necessary).